

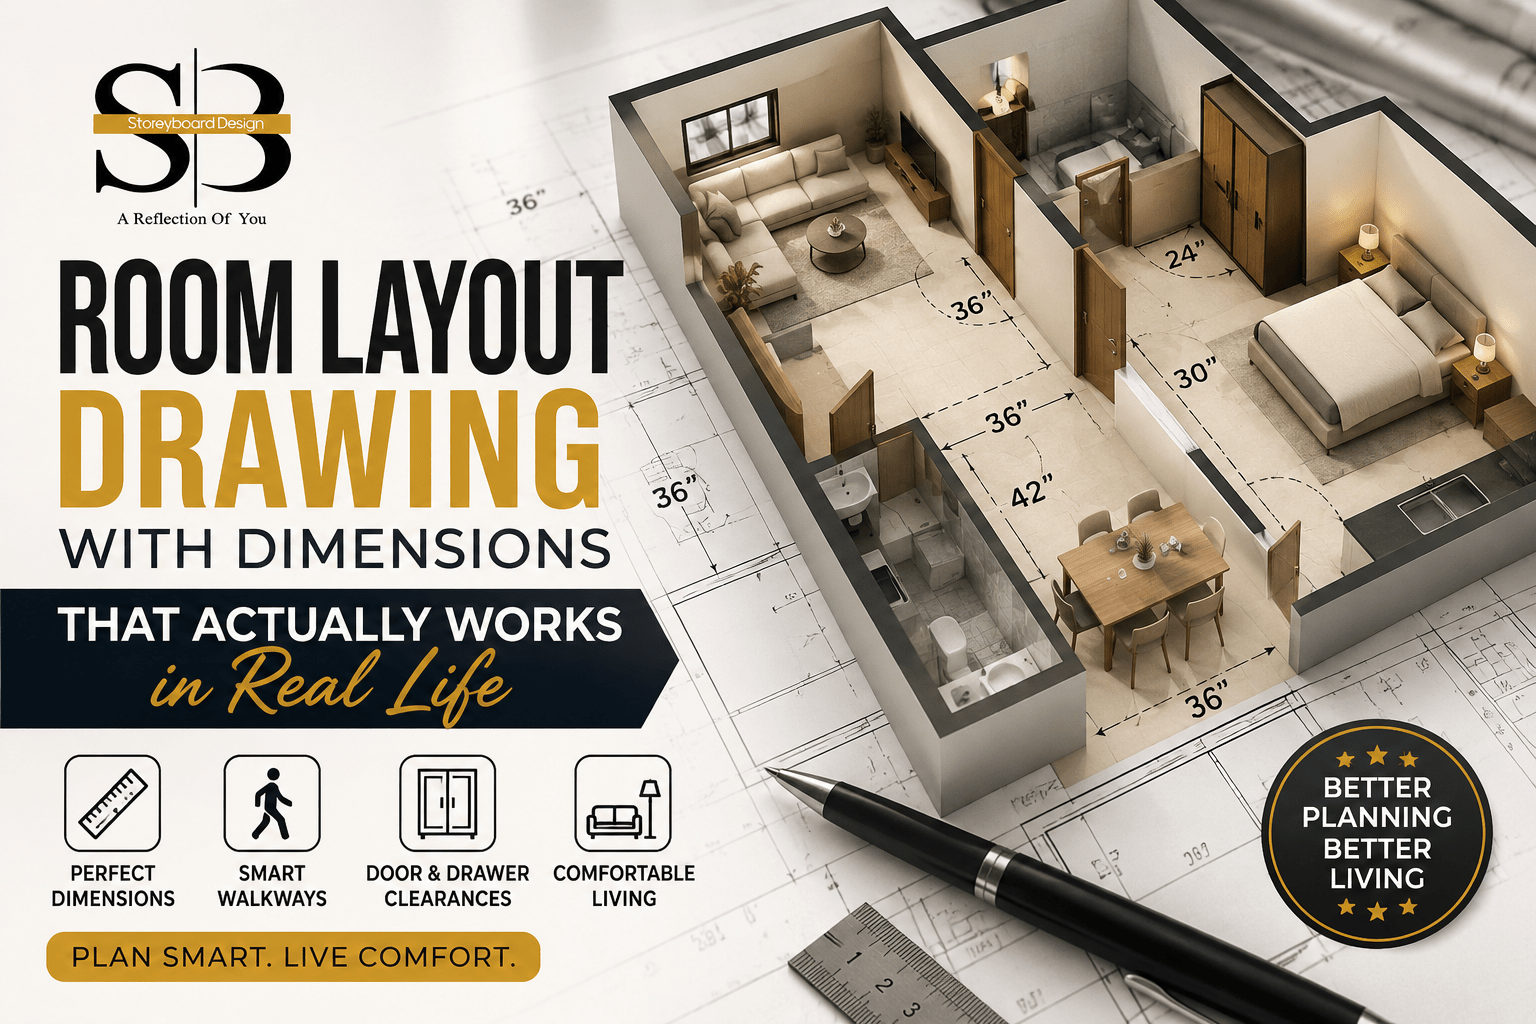
Room Layout Drawing With Dimensions That Actually Works in Real Life
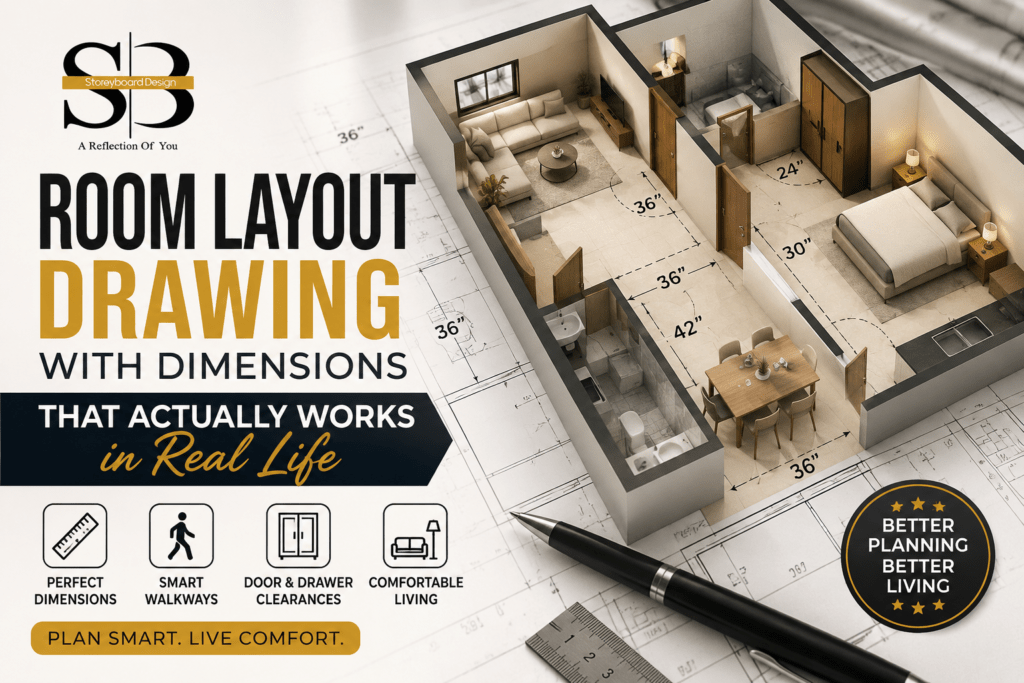
Have you ever planned a room on paper and thought, “Perfect, everything fits!”?
Then, once the furniture arrived, you realised the wardrobe door hit the bed, the dining chairs had nowhere to move, or the walkway was so narrow that everyone had to walk sideways.
If that sounds familiar, you are not alone.
A room layout drawing can look perfect on paper while still feeling uncomfortable in real life. The reason is simple: a drawing usually shows where furniture sits, but it does not always show how people will actually use the room.
Fortunately, there is an easy way to avoid these mistakes.
By adding furniture dimensions, walking clearances, door swings and movement zones to your room layout drawing, you can spot problems before buying furniture or starting the interior work.
So, let’s look at how to create a practical room layout that works not only on paper but also in everyday life.
Why a Perfect-Looking Floor Plan Drawing Can Still Feel Cramped
A floor plan drawing usually represents furniture as simple shapes inside the boundaries of a room. Therefore, if every shape fits inside the room, the layout appears to work.
However, furniture is not just a fixed shape.
People need space around it.
For example:
- A wardrobe needs open space in front of its doors.
- A dining chair needs room to slide backward.
- A sofa needs enough space around it for people to walk comfortably.
- A bed needs enough clearance for people to get in and out.
- Drawers need additional space to open fully.
As a result, a room can look spacious in a drawing but feel surprisingly cramped after the furniture is installed.
That is why a good room layout drawing should show more than furniture footprints.
The Simple Trick: Draw Furniture as Two Shapes
Here is one of the easiest improvements you can make to your room planning.
Instead of drawing every piece of furniture as one solid shape, show it in two parts.
1. The actual furniture footprint
First, draw the furniture according to its real dimensions.
For example, if your wardrobe is 6 feet wide and 2 feet deep, draw it to that exact scale.
2. The clearance zone
Next, add a dashed line around the furniture.
This second area represents the space required for:
- Opening doors
- Pulling out drawers
- Walking around furniture
- Sitting down
- Standing up
- Moving between different areas of the room
Therefore, once both shapes are visible, cramped areas become much easier to identify.
This small change can make your room layout drawing much more realistic.
Room Layout Drawing: Clearance Measurements to Remember
You do not need to be an architect to plan a functional room.
Instead, keep a few practical measurements in mind while creating your layout.
| Area | Recommended Clearance | Why It Matters |
|---|---|---|
| Main walkway | 36 inches minimum; 42 inches is more comfortable | Allows comfortable movement through important routes |
| Secondary walkway | Around 30 inches | Works for tighter spaces between furniture |
| Sofa to coffee table | 14–18 inches | Keeps the table accessible without making the seating area feel crowded |
| Wardrobe or drawer front | 20–24 inches or more | Provides room to open doors or drawers comfortably |
| Around a dining table | Around 36 inches | Gives people space to pull out chairs and stand up |
Of course, these measurements can vary depending on the room, furniture and people using the space.
Still, they are useful starting points.
Most importantly, do not judge a layout only by looking at it. Measure the actual gaps.
Common Room Layout Mistakes People Make
Interestingly, many cramped rooms are not caused by major planning mistakes.
Instead, they usually come from a few small oversights.
1. Measuring only the room
First, homeowners measure the room but forget to measure the furniture.
Furniture depth is particularly important because it is easy to underestimate.
2. Ignoring door movement
Next, people place a bed or sofa near a door without checking the door’s complete swing.
As a result, the furniture may technically fit but become difficult to use.
3. Guessing walkway space
A walkway can look wide enough on paper.
However, once people start walking through it, the same space may feel extremely tight.
4. Forgetting fixed elements
Furthermore, skirting boards, electrical switches, radiators, columns and other fixed elements can reduce usable space.
Therefore, include them in your room layout drawing whenever possible.
Don’t Forget Doors and Drawers
This is one of the most important things to remember.
Furniture does not stay still when you use it.
Wardrobe doors swing open. Drawers slide forward. Cabinet doors move. Dining chairs move backward.
Therefore, your room layout should show movement, not just furniture placement.
For example:
- Draw the swing path of room doors.
- Show the opening area of wardrobe doors.
- Add clearance in front of drawers.
- Leave enough space behind dining chairs.
- Check that cabinet doors do not collide with nearby furniture.
In particular, pay attention to wardrobes.
A wardrobe might fit perfectly beside a bed. However, if the wardrobe door hits the bed every time you open it, the layout is not actually functional.
Watch Sightlines, Not Just Walking Paths
A functional room should also look and feel comfortable.
So, while creating your room layout drawing, think about what people will see from different positions.
For example, if you are planning a TV unit, consider the viewing direction from the main seating area.
Similarly, make sure windows and balcony doors remain accessible.
You should not have to move a chair every morning just to open the curtains.
Likewise, avoid blocking important views with tall furniture unless there is a specific design reason.
Ultimately, good planning is about balancing movement, function and visual comfort.
How to Create a Room Layout Drawing Without Expensive Software
You do not necessarily need professional interior design software.
In fact, you can create a useful room layout drawing with simple tools.
Step 1: Measure the room
Start by measuring:
- Room length
- Room width
- Door width
- Window position
- Window dimensions
- Columns
- Built-in storage
- Electrical points
- Switch locations
Next, write everything down.
Step 2: Choose a scale
For a simple hand drawing, you could use one square on graph paper to represent one square foot.
Alternatively, you can use a digital planning tool.
Step 3: Draw the room outline
Then, draw the walls first.
After that, mark the doors, windows and fixed elements.
Step 4: Add furniture
Now add your furniture according to its actual dimensions.
Do not simply draw furniture based on how large you think it looks.
Instead, use real measurements.
Step 5: Add clearance zones
Next, draw dashed lines around furniture.
These lines should show where people need space to move, sit, stand and open doors or drawers.
Step 6: Test the layout physically
Finally, use masking tape on your actual floor to mark the furniture positions.
Then walk through the room.
Open imaginary wardrobe doors.
Pull out imaginary drawers.
Sit where the sofa would be.
This simple test can reveal problems that even a detailed room layout drawing may not show.
Watch This Before Finalising Your Layout
If you prefer visual examples, these videos can also help you understand room planning and layout ideas:
You provided the second YouTube link twice, so I’ve included it once to avoid unnecessary duplication.
Turning a Builder Floor Plan Into a Livable Layout
If you have recently received a builder’s floor plan, do not immediately start placing furniture randomly.
Instead, begin with movement.
First, identify the main route from the entrance to the living area.
Then, look at how people will move between the living room, dining area, kitchen and bedrooms.
In an open-plan home, furniture can also help define different zones.
For example, a sofa can visually separate the living area from the dining space without requiring a wall.
Similarly, a dining table can help establish a dedicated dining zone.
However, always test multiple options.
One arrangement may look attractive, while another may provide much better movement.
Also, pay attention to electrical points.
For example, the position of a TV point can influence where your TV unit should go. Likewise, switches and charging points can affect desk and bed placement.
Therefore, your room layout drawing should consider both design and practical requirements.
Room Layout Drawing Tips for Design Students and Junior Designers
If you are studying interior design or starting your career, learning clearance planning early can make a huge difference.
A beautiful layout is good.
However, a beautiful layout that works is much better.
Start by learning standard architectural symbols for:
- Doors
- Windows
- Furniture
- Fixtures
- Electrical points
Then, practice drawing furniture footprints along with clearance zones.
Also, when presenting a layout to a client, explain why you have left certain spaces empty.
For example, instead of saying, “There is space here,” explain that the area has been kept clear so the wardrobe can open fully.
This demonstrates that the design is based on function rather than appearance alone.
Small Rooms Need Even More Planning
Small rooms can actually be harder to design than large rooms.
Why?
Because every inch matters.
For a narrow or L-shaped room, start by planning the main walkway.
Then, fit furniture around that path.
Do not do it the other way around.
For a home office inside a bedroom, make sure the desk chair can move backward without hitting the bed.
Similarly, for a guest bedroom that doubles as a study, consider flexible furniture.
For instance, a fold-down desk, storage ottoman or compact sofa bed can serve multiple purposes.
As a result, you can achieve more functionality without filling the room with too many separate furniture pieces.
A Simple Real-Life Example
Imagine two people are furnishing bedrooms of exactly the same size.
The first person draws a bed, wardrobe and side tables as solid shapes.
Everything appears to fit.
The second person does something slightly different.
They add a clearance zone around the wardrobe.
Suddenly, they notice that the wardrobe door would hit the bed when opened.
So, they move the bed a few inches before ordering the furniture.
The first person discovers the same problem only after the wardrobe has been delivered and assembled.
That small difference shows why a detailed room layout drawing can save both money and frustration.
The Takeaway
A good room layout drawing is not simply about making furniture fit inside four walls.
Instead, it is about creating a room that works comfortably every single day.
Therefore, think beyond the furniture footprint.
Think about doors.
Think about drawers.
Think about people.
Think about walking paths.
Think about sightlines.
And, most importantly, think about how the room will actually be used.
Next time you create a room layout drawing, add a clearance zone around every major piece of furniture.
Then, test the layout physically with masking tape if possible.
It takes only a few extra minutes. However, it can save you from an expensive and frustrating mistake later.
If you want more room-specific inspiration, you can also explore our guide to bedroom interior design for Indian homes, learn what separates the best luxury interiors in Bangalore, or browse our interior design portfolio to see how thoughtful planning translates into finished spaces.
Frequently Asked Questions
1. What is a room layout drawing?
A room layout drawing shows furniture placement, dimensions, clearances, doors, and walkways for comfortable everyday living.
2. Why is a room layout drawing important?
A room layout drawing helps you identify cramped areas and expensive furniture placement mistakes before installation.
3. How do I create a room layout drawing?
Measure your room, add furniture dimensions, mark doors and windows, then include walking and opening clearances.
4. What dimensions should a room layout drawing include?
Include room dimensions, furniture sizes, door swings, window positions, walkways, and clearance zones for accurate planning.
5. Can I create a room layout drawing without software?
Yes, you can create a room layout drawing using graph paper, measurements, a ruler, and masking tape.
6. What is the biggest room layout drawing mistake?
The biggest mistake is ignoring clearance space needed for doors, drawers, chairs, and comfortable movement.
7. How accurate should a room layout drawing be?
For furniture purchases, your room layout drawing should use accurate measurements to prevent costly space-planning mistakes.

Leave a Reply